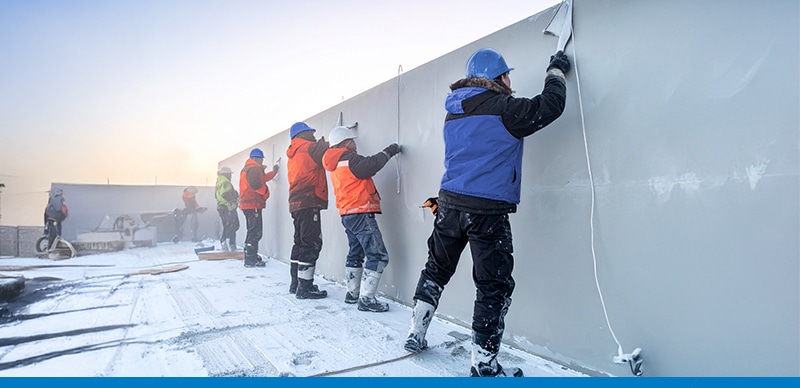
Whether you’re a weekend DIYer or a seasoned site foreman, there’s one thing to note about plastering: it doesn’t like the cold. With most searches around plastering in cold weather popping up during the winter season, it’s clear that many builders and homeowners run into trouble when temperatures drop. But fear not – there are practical solutions and pro tips that can help you get a smooth, strong finish even in cooler climates.
In this blog, we unpack what’s really going on when the thermometer drops, and how to avoid the most common cold-weather plastering mistakes.
To understand cold-weather plastering challenges, you need to understand what plastering is doing at a chemical level. Cement plaster sets through a process called hydration – a chemical reaction between cement and water. For this reaction to happen properly, it needs warmth.
When the temperature dips below 5°C:
So, while your mix may look good at the start, its long-term durability is at serious risk if precautions aren’t taken.
Let’s talk about what not to do when plastering in colder months:
This is a classic pitfall. If the substrate (wall or ceiling) is frozen or even just icy, your plaster won’t bond properly. Instead, it’ll sit on top like icing on a cold cake – and eventually peel or crack.
Using icy water (or worse, salty or unclean water) can compromise your mix. Salt, in particular, can lead to efflorescence – a white, powdery residue that bleeds through cured plaster.
Plaster needs time to set and cure. In cold weather, this takes longer, so rushing the process by blasting heat can dry the surface while leaving the interior weak and brittle.
So how do you get it right? Here’s how to adapt your technique for winter and keep your finish flawless:
Avoid working if temperatures are expected to fall below 5°C within 48 hours of plastering. Even if you’re working indoors, external walls can retain cold, especially early in the morning.
Store bags of cement, plastering sand, and water in a dry, enclosed space to keep them above freezing. You can even use slightly warm (not hot!) water to help bring your mix to an optimal temperature.
A strong, pliable mix that adheres well is key. A typical recommendation is:
In very cold weather, consider using additives or admixtures designed for cold-weather use. These improve workability and setting times, and can help maintain bond strength in sub-optimal conditions.
If plastering indoors, use a safe space heater to keep the room between 10°C and 20°C. For outdoor jobs, temporary enclosures and indirect heating can keep conditions stable enough for effective plastering.
One of the more advanced mistakes even seasoned plasterers make in winter is over-trowelling – going over the surface too many times in an attempt to speed up finishing. In cold weather, the surface may look dry while the interior is still wet, so excessive pressure can cause microcracks, shrinkage, or uneven finishes.
Remember, plaster will set slower in the cold. Let patience – not pressure – be your guide.
Once your plaster is on, you’re not done yet. Curing is crucial in cold climates to ensure that the internal structure of your plaster hardens correctly.
Here’s how to cure properly in winter:
Build Strong, Whatever the Weather
Cold-weather plastering doesn’t have to be a nightmare. By planning ahead, avoiding common mistakes, and following tried-and-tested best practices, you can achieve a professional finish that holds up to both time and temperature.
Remember: great plastering is more than just technique – it’s about timing, tools, and temperature. When in doubt, always refer to manufacturer guidelines (like those from Sephaku Cement) and consult a professional before diving into a project during the colder months.
More news, guides and practical cement advice from the Sephaku team.