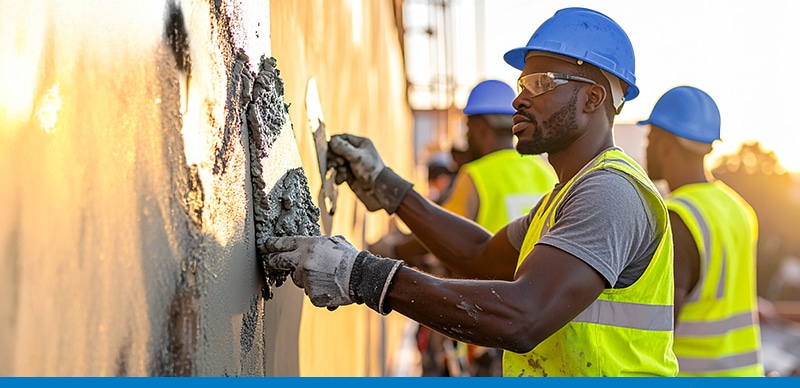
When it comes to getting plastering right the first time, the details matter. Whether you’re mixing your own batch or working with a team, avoiding key mistakes can make all the difference between a professional-looking surface and a patchy, crack-prone wall.
Online search trends reveal that terms like “mistakes when plastering,” “plastering shrinkage,” “sand for plastering,” and “over trowelling the plaster” are frequently typed by builders, DIYers, and renovators alike. And for good reason – plastering is one of the most misunderstood phases in the building process.
In this blog, we cover the 7 biggest plastering mistakes and how to avoid them, so you can get that perfect finish every time.
Let’s start with the foundation of your plaster mix: sand.
Using the wrong sand – especially unwashed, poorly graded, or overly fine sand – can ruin your plaster before you even apply it.
Here’s what to watch out for:
Pro tip: Always use plastering sand (sometimes called plaster sand), which is washed, well-graded, and free of impurities. Avoid building sand for plastering.
Not all cement is created equal, and the wrong choice can sabotage your plaster.
For best results, most professionals recommend:
Using cement with too low a strength class or poor workability can result in:
Pro tip: Stick to trusted brands like Sephaku Cement, which offer SANS-compliant extended cement blends with excellent adhesion and long-term performance.
Weather plays a bigger role in plastering than most realise. In hot or windy conditions, your mix may set too quickly, causing:
When plaster dries faster on the outside than inside, it disrupts the curing process, leading to weak, brittle surfaces.
Pro tip: Avoid plastering in direct sunlight or during peak heat. Use shade nets or temporary barriers to reduce wind exposure. Always pre-wet the substrate before applying plaster to reduce moisture absorption.
One of the most searched-for mistakes online is “over trowelling plaster” – and for good reason. Over trowelling happens when you keep working the surface after it has already begun to set. This:
Pro tip: Apply firm pressure when trowelling, but don’t overwork it. Three passes is typically enough – once to apply, once to level, and once to smooth.
Getting your mixing plaster ratio wrong is one of the most fundamental pitfalls when plastering. Too much sand leads to weak plaster that easily crumbles. Too much cement, and you’ll get shrinkage and cracking.
Recommended general ratios:
Pro tip: Your ideal mix should be creamy and workable, not runny. A good test? It should stay on your trowel when flipped, but still spread easily.
A clean, roughened surface ensures plaster adheres properly. Skipping prep work is a fast track to:
Pro tip: Always remove dust, oil, and debris. Pre-wet the surface (especially in hot weather) to slow down absorption and improve bond.
Even if your plaster looks perfect at first, improper curing can undo your hard work.
If you don’t cure the plaster, especially in dry weather, it will:
Pro tip: Begin curing 24 hours after application. Lightly mist the surface 2–3 times a day for at least 7 days. Avoid direct sun exposure during this period.
Avoiding these plastering mistakes isn’t just about technique – it’s about understanding the science behind the materials.
From selecting the right plastering sand and cement type to managing the weather conditions, it all adds up to a long-lasting, professional finish.
Here’s your checklist to avoid the most common plastering mistakes:
✅ Use well-graded, low-clay plastering sand
✅ Choose the right cement for the job (Sephaku 32.5R or 42.5N)
✅ Avoid plastering in extreme weather conditions
✅ Don’t over trowel – let the plaster rest
✅ Stick to proven mix ratios
✅ Prep your surface like a pro
✅ Don’t rush curing – give it time to strengthen
More news, guides and practical cement advice from the Sephaku team.